特にアラビア語のアプリケーション開発の注意点。
今回はXMLレイアウトについて。
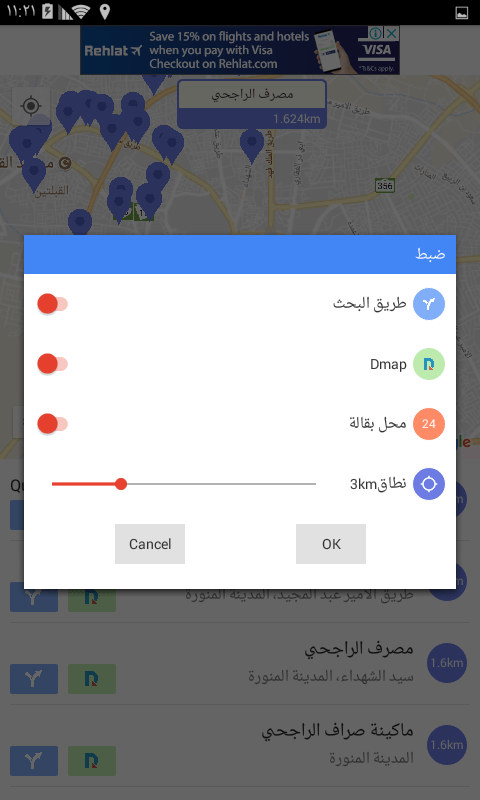
アラビア語は昔の日本語のように右から左に向けて文字を書き記す言語です。ですからレイアウトは注意しなければなりません。といっても、実はAndroidはもうまくできていて、簡単に反映させるできます。その方法についてです。
レイアウトの表示比較
 |
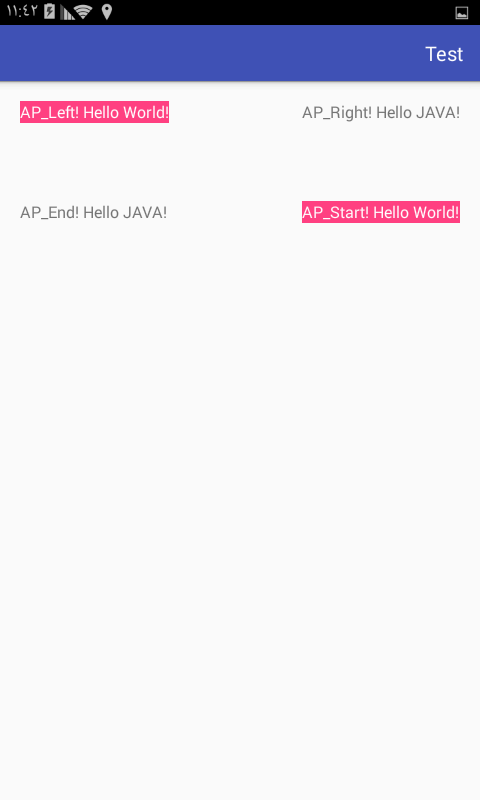 |
| 日本語環境 |
アラビア語環境 |
コードはこちら
<?xml version="1.0" encoding="utf-8"?>
<RelativeLayout xmlns:android="http://schemas.android.com/apk/res/android"
    xmlns:app="http://schemas.android.com/apk/res-auto"
    xmlns:tools="http://schemas.android.com/tools"
    android:layout_width="match_parent"
    android:layout_height="match_parent"
    android:layout_margin="20dp"
    tools:context="***.****.**.**">
    <TextView
        android:layout_width="wrap_content"
        android:layout_height="wrap_content"
        android:text="AP_Left! Hello World!"
        android:textSize="16sp"
        android:textColor="@color/white"
        android:background="@color/colorAccent"
        android:layout_alignParentTop="true"
        android:layout_alignParentLeft="true" />
    <TextView
        android:layout_width="wrap_content"
        android:layout_height="wrap_content"
        android:text="AP_Right! Hello JAVA!"
        android:textSize="16sp"
        android:layout_alignParentTop="true"
        android:layout_alignParentRight="true" />

    <TextView
        android:layout_width="wrap_content"
        android:layout_height="wrap_content"
        android:text="AP_Start! Hello World!"
        android:textColor="@color/white"
        android:background="@color/colorAccent"
        android:textSize="16sp"
        android:layout_marginTop="100dp"
        android:layout_alignParentTop="true"
        android:layout_alignParentStart="true" />
    <TextView
        android:layout_width="wrap_content"
        android:layout_height="wrap_content"
        android:text="AP_End! Hello JAVA!"
        android:textSize="16sp"
        android:layout_marginTop="100dp"
        android:layout_alignParentTop="true"
        android:layout_alignParentEnd="true" />
</RelativeLayout>
上側(HelloWord)は日本語環境でもアラビア語環境でも位置は変わりませんが下側(HelloJava)は入れ替わっています。これは何を意味するかといいますと、layout_aliginParentStartとlayout_alignParentLeftの違いを意味します。
Leftの場合は文字通り左側に配置されますがStartの場合は言語に合わせてスタートすべき位置からスタートします。レイアウトを言語問わず維持したいのであればLeftを使うとよく、言語に合わせて配置を決めたい場合はStartを用いるとよい。ということとなります。
注意点
注意点があります。例えば以下のようなコードの場合です。
<?xml version="1.0" encoding="utf-8"?>
<LinearLayout xmlns:android="http://schemas.android.com/apk/res/android"
    xmlns:app="http://schemas.android.com/apk/res-auto"
    xmlns:tools="http://schemas.android.com/tools"
    android:layout_width="match_parent"
    android:layout_height="wrap_content"
    android:orientation="horizontal"
    android:layout_margin="20dp"
    tools:context="net.honeybread.arabtest.MainActivity">
        <TextView
            android:layout_width="0dp"
            android:layout_height="wrap_content"
            android:layout_weight="1"
            android:text="LinearLayout'sLeft" />
        <TextView
            android:layout_width="wrap_content"
            android:layout_height="wrap_content"
            android:text="Right"/>
</LinearLayout>
以下のように表示されます。
 |
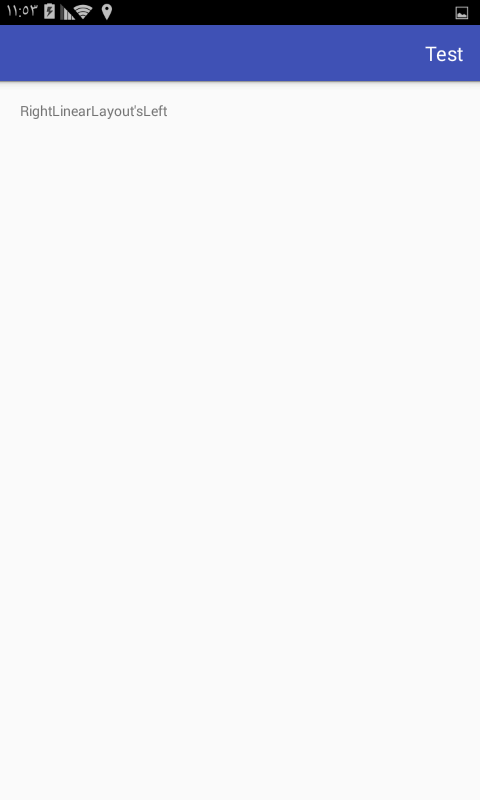 |
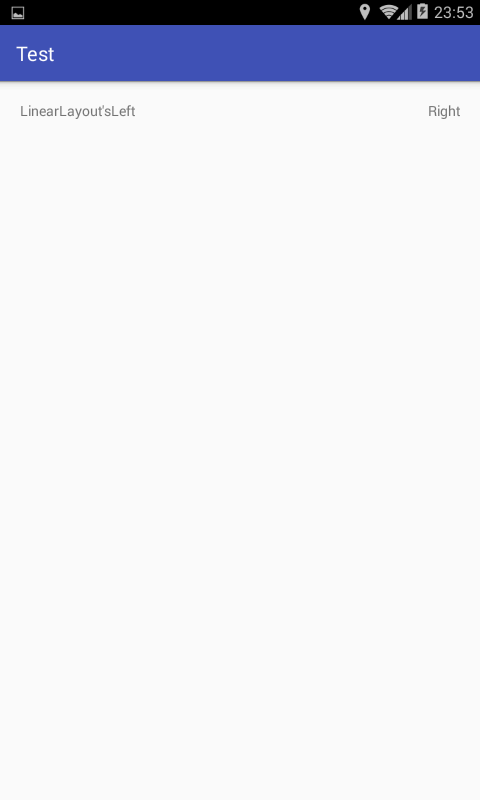
| 日本語環境 | アラビア語環境 |
アラビア語環境で左右逆になるということ(これ自体は問題ない)、そしてwidth=0dpでweight=1とした場合にleftの分が左寄せになる。という点です。
この場合に備え、以下のように記述します。
<?xml version="1.0" encoding="utf-8"?>
<LinearLayout xmlns:android="http://schemas.android.com/apk/res/android"
    xmlns:app="http://schemas.android.com/apk/res-auto"
    xmlns:tools="http://schemas.android.com/tools"
    android:layout_width="match_parent"
    android:layout_height="wrap_content"
    android:orientation="horizontal"
    android:layout_margin="20dp"
    tools:context="net.honeybread.arabtest.MainActivity">
        <TextView
            android:layout_width="wrap_content"
            android:layout_height="wrap_content"
            android:text="LinearLayout'sLeft"/>
        <View
            android:layout_width="0dp"
            android:layout_height="wrap_content"
            android:layout_weight="1"/>
        <TextView
            android:layout_width="wrap_content"
            android:layout_height="wrap_content"
            android:text="Right"/>
</LinearLayout>
weight=1の空のViewを間に挟みます。アラビア語環境向けのみの場合はこの方法を取る必要はありませんが、多言語化する場合はこの方法が一番楽ではないでしょうか。gravity類の指定をstart等にしても結果に影響を与えませんでした。
まとめ
極力、レイアウトではrightではなく、end。leftではなくstartを用いる。
LinearLayoutで上手く表示されない場合は空のweight=1のviewを用いる。
表示テストをしっかり行う。
今はそのつもりがなくても将来的にアラビア語環境でのリリースを行うということを考えることになるかもしれません。その時に備えたコーディングを心がけるのも良いかと思います。
その他の多言語化記事